
iPhone giving you grief again? Storage full, and you’ve no clue where it’s all gone? Between photos, old messages, and growing apps, there’s always a need for more room, and that’s exactly what we’re covering today.
We’ll walk you through how to free up space on your iPhone: quick fixes, smart tricks, and ways to clean it up without deleting everything.
Let’s get it sorted.
Check What’s Taking Up Space First
We want to start with the same thing the official iPhone User Guide recommends before doing anything else: check what’s actually taking up space. It sounds obvious, but most people skip it.
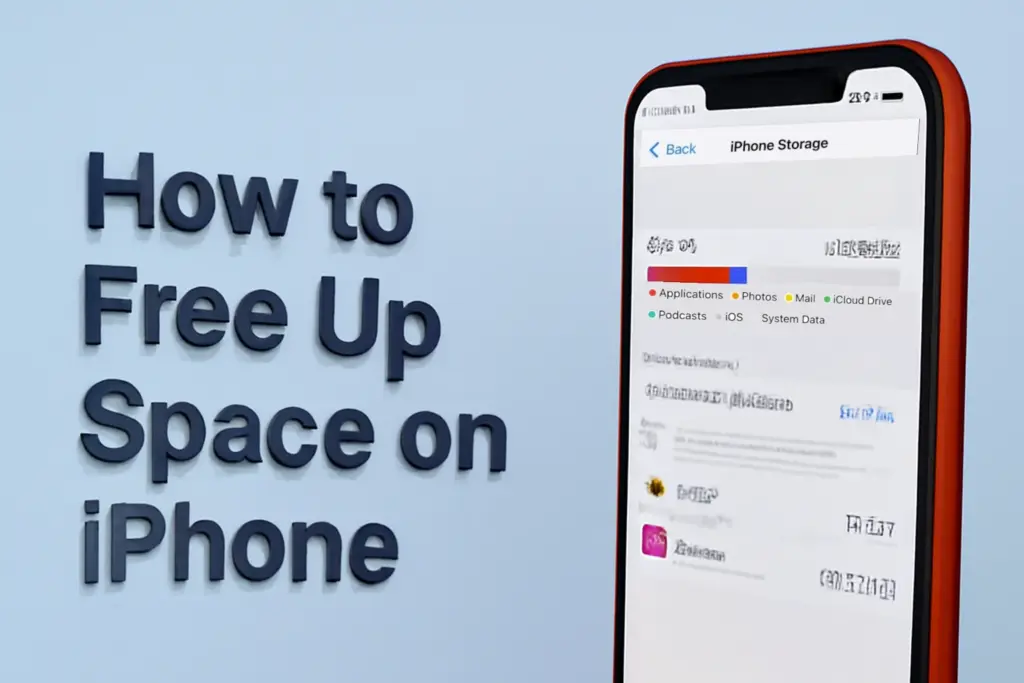
Head to Settings > General > iPhone Storage. Give it a moment to load (if your phone’s nearly full, it can take a bit). Once it’s ready, you’ll see a coloured bar at the top showing what types of content are using your storage: apps, photos, media, messages, system data, and so on.
Scroll down and you’ll get a list of apps sorted by size. Tap on any app and you’ll see how much the actual app size is and how much is “Documents & Data”, which often includes cached files and downloads.
This is where you get a proper look at what’s really going on. If you spot an app taking up 5GB and you haven’t touched it in six months, it’s probably safe to delete (unless you’ve got plans to use it soon). And if nothing jumps out straight away, that’s fine too. We’ll go through the usual suspects next and show you how to deal with each one.
How to Free Up Space on iPhone: Full Guide
Now let’s go through the steps to free up space on iPhone. We’ll start with the biggest space-hogs like Photos and work our way down.
You don’t need to do all of it at once. Even tackling one or two of these can make a noticeable difference.
Method 1: Clean Up Your Photos Library
If you’re like us, chances are Photos is the biggest thing in your storage. And it’s not surprising: Live Photos, 4K videos, screenshots, and duplicates, your library fills up fast without you even realising.
First thing we’d suggest: check Recently Deleted. A lot of people forget that when you delete photos, they’re not actually gone (they sit in that folder for up to 30 days). If it’s full, clear it out. You might be surprised how much space that frees up on its own.
If there’s nothing in there yet, have a look at what should be showing up. The Duplicates album is a good place to start. iOS does a decent job of spotting exact copies and lets you merge them with a single tap. But here’s the catch. It only works on identical files, and it often takes its time to populate, as some people are disappointed to discover.
That’s why we’d recommend a third-party option instead, like a recent app we’ve tested called Clever Cleaner. It’s a completely free app, with no paywalls or trial limits. Everything runs directly on your device (no cloud uploads), and in our experience, it genuinely holds its own against some of the paid apps out there.
Here’s how you can free up space on your iPhone automatically:
- Open the app, tap on Similars, and let it do its thing. It’ll scan your entire camera roll and group together all the lookalike shots.
- Tap Smart Cleanup, and the AI will pick the best photo to keep from each group. It’s surprisingly good at it too, sharper images, faces in focus, better lighting, it knows what to look for.
- If you’re happy with the choices, use Slide to delete. Want more control? You can tap into any group, change the selection, or skip it altogether. You’re in charge.
When you’re ready, tap Move to Trash, then Empty Trash to actually clear them out. Just don’t forget about Recently Deleted, like we mentioned earlier, until you empty that too, the space isn’t fully freed up.
There are plenty of apps to clean iPhone storage on the App Store, but very few offer this level of accuracy and features without charging you for it. Beyond similar photo cleanup, it’s got four other tools built in:
- Heavies shows you your biggest files first; perfect for spotting oversized videos and photos.
- Swipe lets you go through your photos by month and flick left or right to delete or keep.
- Screenshots rounds up every screenshot you’ve ever taken and gives you a quick way to clear them out in one go.
- Lives helps you convert Live Photos into regular stills if you’re happy to lose the motion and save a bit of space.
Method 2: Clear Safari Cache
Next, let’s look at your browser. Let’s say you’re using the default Safari app; over time, it builds up a pile of cached data. Things like images from websites you’ve visited, saved login sessions, bits of code… it all gets stored to help pages load faster. But the trade-off is that it slowly eats into your iPhone’s storage without you noticing.
The good news is, you can quickly free up this space on your iPhone in literally seconds. Here’s how:
- Head to Settings > Safari.
Scroll down, and tap Clear History and Website Data. Done. That’ll clear cached files, cookies, and other web clutter.
You might get logged out of a few sites, but your bookmarks and saved passwords will stay put.
Is it going to save you gigabytes of space? Probably not. But if you’re trying to clean things up properly, it’s an easy one to tick off the list.
Also, have a look at your other apps, maybe you’re using Chrome instead of Safari, or you’re constantly on TikTok or Snapchat. Pretty much every app builds up cache over time, and some of them even give you a way to clear it out within their own settings. Look around for sections like Data Storage, Cache, or anything similar. With some apps, you can free up a few gigabytes without deleting any actual content.
If there’s no built-in option to clear the cache, there’s an old trick that still works: delete the app and reinstall it. It sounds basic, but it flushes out all the temporary files and resets the storage footprint. Yes, you may need to log in again or re-download a few bits, but it’s usually worth it.
Method 3: Review Message Attachments
Messages might not seem like a storage problem, but if you’ve been using iMessage or WhatsApp for a while, you’d be surprised how much space old conversations can take up. Videos, photos, voice notes, yes, it’s all in there. And since iOS keeps media attached to messages unless you delete them yourself, they can sit there for years.
To check what’s hidden away:
- Go to Settings > General > iPhone Storage
Then scroll down and tap Messages. You’ll see sections like Photos, Videos, GIFs and Stickers, and Other, these are all files stored within your conversations.
You might also see a section called Review Large Attachments. iOS puts the biggest files at the top. From there, it’s easy to delete what you no longer need with just a few taps.
This option only appears if there’s enough media stored in your Messages app. If you don’t see it straight away, it likely means there’s nothing particularly large to review
If you use WhatsApp a lot, open the app and go to Settings > Storage and Data > Manage Storage. It’ll give you a breakdown by conversation, and you can clear out large files, forwarded items, or whole chats you don’t need anymore.
Method 4: Remove Downloads You No Longer Need
This one’s often unfairly overlooked. Downloads don’t always come to mind when thinking about storage, but if you’ve ever saved files from the internet, or received files over AirDrop or email, they’re probably still sitting there. The iPhone doesn’t clear them out on its own, you have to do it manually.
The best way to free up space on iPhone from downloads is this:
- Start with the Files app.
- Open it, go to On My iPhone, and check the Downloads folder.
Have a scroll through and select any files you no longer need. When you’re done, just tap on the bin icon (or Delete) to clear them out. Simple as that.
Just like with the Photos app, the Files app has its own Recently Deleted section. So, after clearing things out, make sure you go there and empty it as well (otherwise, the files are still taking up space). Open Files, tap Browse, scroll down to Recently Deleted, and clear it for good. That’s the final step.
How to Free Up Storage on iPhone Without Deleting Anything
Now, if you’ve gone through everything and feel like there’s absolutely nothing left to delete, or there was never anything to remove in the first place, and you find yourself thinking, well, how do I free up space on my iPhone now? There are still a few clever tricks that can help, even in situations like this.
We already talked about deleting apps from your phone, but did you know you can also offload them instead? It’s a built-in feature in iOS, and it’s a great middle ground if you’re tight on space but don’t want to lose your app data. When you offload an app, the app itself is removed to free up storage, but all your documents and settings stay on the device. That way, when you reinstall it later, it’s like you never left.
To do it, go to Settings > General > iPhone Storage, tap on any app, and you’ll see the option to Offload App.
- You can also turn on Offload Unused Apps to let your iPhone handle this automatically in the background when you’re low on space.
- Next, consider your Photos. Maybe there’s absolutely nothing left to delete, or you’ve already done a proper clean-up. In that case, it’s worth looking at iCloud. With the Optimise iPhone Storage feature, your device will keep lighter, space-saving versions of your photos locally, while the full-resolution originals are stored in the cloud. You’ll still be able to view everything as normal, but it takes up far less space on your phone.
To turn it on, head to Settings > iCloud, then switch on iCloud Photos and make sure Optimise iPhone Storage is selected. You might end up relying on your Wi-Fi or mobile connection a bit more when viewing older photos in full quality, but for many people, it’s a small trade-off for the amount of space it frees up.
Final Words
Now you know how to free up space on iPhone, too. As you can see, there’s nothing particularly challenging here – just a few smart habits and hidden options most people overlook. These tips will be useful for any iPhone user, whether you’re still on an iPhone 13 or using the latest iPhone 16 Pro Max. Storage fills up quickly, no matter which model you’ve got, but keeping it under control doesn’t have to be a struggle.
In our experience, a combination of a few of these tricks (whichever suits your usage best) along with a monthly routine clean-up is usually enough to keep your iPhone running smoothly and stop storage from getting out of hand. It doesn’t need to be a big job, just a quick check-in now and then to clear out the build-up.