
Every new release of iPhones brings mobile photography closer to the quality of the professional camera. Yet a camera, even the best one, requires a creative eye and the correct technique. This guide will discuss how to capture professional shots on an iPhone, including the use of lighting, composition, camera settings and editing tips that can be used to create your shot, which looks like it came out in the studio.
Regardless of the kind of photography you are engaged in, these tips will ensure you come up with pictures that are indeed remarkable. And I’ve also always found that the best iPhone photos come from the moments when you understand how light and angles work together.
What Role Does Camera Knowledge Play in Professional iPhone Photography?
The first thing about every great photo is to know your tools. In the iPhone today, there are sophisticated sensors, ProRAW capabilities & movie mode, and the vast vast majority of users have little idea of what they can actually accomplish. Once you have been taking a couple of test shots, you will realize how a slight adjustment of exposure or focus can entirely alter your image.
Explore Camera Modes and Settings
Before taking that first shot, explore your camera app. Try Portrait mode for blurred backgrounds, Night mode for low-light scenes and ProRAW for more detail and editing flexibility. The grid lines feature helps balance your frame using the rule of thirds – one of the simplest ways to make any photo more appealing.
Know Your Lenses
If your iPhone has more than one lens (wide, ultra-wide, telephoto), every lens has a distinct appearance. The use of a wide lens is best for taking landscapes, the telephoto gives clear portrait pictures, and the ultra-wide gives building shots or group pictures their dramatic effect. Trying them all out, you get to know how each of them alters the point of view and depth.
How Can You Use Lighting to Take Professional iPhone Photos?
Light is the real game-changer in iPhone photography. When used right, it can turn an ordinary shot into one that instantly catches the eye. The iPhone camera works best under good lighting even when it is equipped with advanced sensors.
Example:
If you’ve ever tried to take a sunset photo and ended up with silhouettes, that’s your phone’s auto-exposure doing its job – learning to tweak it, makes all the difference.
Natural Light Wins Every Time
Whenever possible, shoot in natural light. Soft and flattering tones are produced by early morning and late afternoon (so-called golden hours). The sun should be avoided during the day in the middle of the day, this generates deep shadows and skin color. When you have to shoot inside, have a window or a white wall that will reflect the light naturally to the subject you are shooting.
Use Shadows Creatively
Do not combat the shadows, make them lively and rich. Attempt to take photos of lit up faces or objects on one side of the object – the contrast can help add some story to your photograph.
How Does Composition Improve iPhone Photography?
Composition is what gives structure and emotion to your photo. It helps guide the viewer’s eye and makes your image feel balanced and intentional.
Apply the Rule of Thirds
Turn on the grid-lines of your camera and make sure that the leading subject of your film is in one of the straight lines. This is a very basic modification that can turn an ordinary shot into one that appears professional and one that is appealing to the eyes.
Look for Leading Lines
Lining roads, railings, or even shadows may be leading lines, and will attract your subject of interest. The trick brings concentration to your images and makes them dynamic, as opposed to flat images.
Frame Within a Frame
Naturally frame the subject using windows, doors or a tree. It also provides depth and a sense of context to your photo like you are inviting a viewer to the scene.
Take Sharp and Clear Photos
Unsharp shots may spoil the most artistic concept. The iPhone camera can be set to an unbelievable detail, yet it requires steadfast hands and certain slight adjustments.
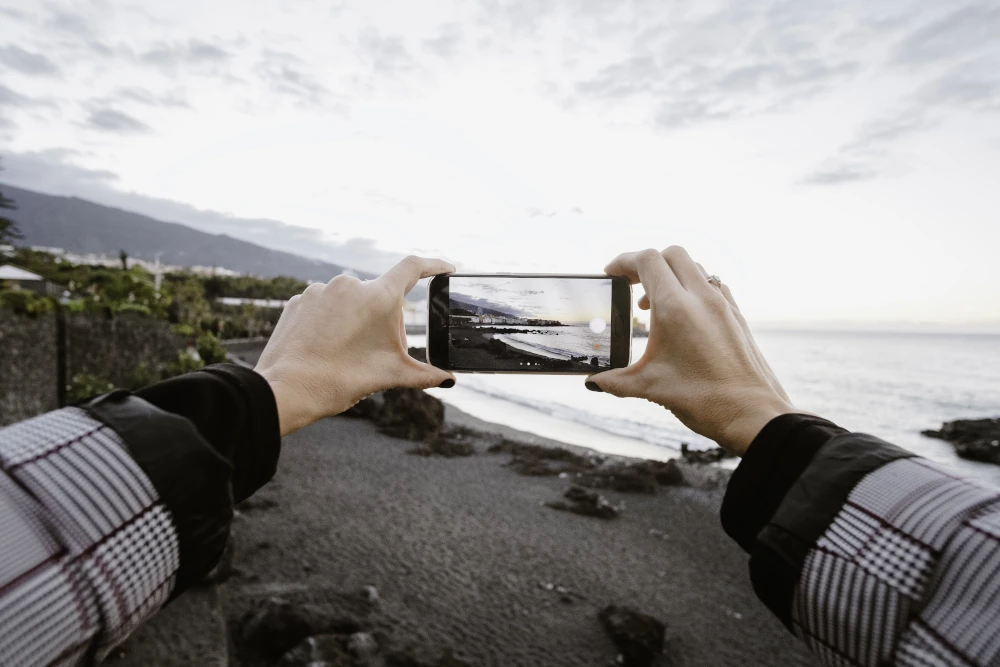
Keep It Steady
Use both hands when shooting or, better yet, rest your phone on a stable surface. You can also use the volume button as a shutter or even your Apple Watch as a remote trigger to reduce camera shake.

Lock Focus and Exposure
To lock focus (AE/AF Lock), touch and hold on your subject. Then move up or down to make it brighter. This provides you with greater control and makes your subject remain completely sharp even when there is a change in lighting.
Take Advantage of Portrait and Night Modes
The modes that Apple has provided inbuilt are meant to simplify the process of taking pictures – when properly employed; they have the potential of enabling your pictures to appear like you are the professional photographer without having to put much effort into it.
Portrait Mode for Depth and Drama
The portrait mode blurs the background with software to replicate the effect of the depth of field on a DSLR. Test the various lighting effects – Studio Light, Contour Light or Stage Light to give your image a mood or focus.
Night Mode for Low-Light Magic
It does not have to be low quality when it is low light. Night mode puts your phone in one position and it takes an extra detail as it has extended exposure. Light sources such as candles or street lamps should be utilized in order to produce dramatic scenes.
Edit Like a Pro
The magic does not end when one has taken the shot. Editing will make what your camera shot more refined and bring your creative vision to life.
Use Built-in Editing Tools
Start with the Photos application in your iPhone – it already contains such powerful tools. Adjust an image in terms of exposure, contrast, highlights and shadows. Small adjustments of vibrancy and warmth would of course enable colors to shine without seeming to be overdone.
Try Editing Apps
To be even more in control, apply such apps as Lightroom Mobile, VSCO, or Snapseed. They can be used to perform fine-tuning of color, texture, and selective editing to give the impression that your photo was taken right out of a professional studio.
Pro Tip: I normally start with Apple’s native photo editor before jumping into apps like Lightroom, it keeps colors true to life.
Practice and Experiment
The finest photojournalists are not mere accidental people. They are in a permanent state of testing, failing and learning. Trying to shoot at different angles, change the viewpoint, trying to make use of reflections and silhouettes. The more photographs you capture, the more you will gain knowledge on how your iPhone can view the world.
Something so simple as waiting till you see a clear light or giving an extra few seconds to put your subject in a better place, can change a regular photo into a photo worth commenting on.
If you want to explore more about your phone’s hidden camera tools, check out Apple’s official iPhone camera guide.
FAQs
Is it possible to take professional photos with my iPhone only?
Yes, absolutely. The right lighting, composition and editing will produce results that are nearly comparable to a DSLR, using your iPhone.
When is the best time of the day to take iPhone pictures?
Golden hour – early morning or late afternoon – is a soft warm light which is ideal to take pictures.
What iPhone camera mode is the best to use when taking portraits?
Choose Portrait mode and use natural light, and you can regulate the effect of the lighting.
How will I prevent unclear pictures on my iPhone?
You can rest your phone on something or place it in between two hands or have your volume button act as a shutter.
Should I have iPhone photography editing apps?
Your photos may be improved and can appear more professional not always, but such applications as Lightroom, Snapseed, and others can help to improve your photos.
Final Thoughts
Depending on equipment is not the way to take professional photos with your iPhone, it is a matter of technique and imagination. By practice, time and good eye coordination of light and balance your daily pictures may begin to resemble a magazine cover. The best part? You are taking that possibility in your purse. The next time you pick up your iPhone: keep this in mind, the best camera is the one that is in your hand.
The beauty of iPhone photography is that anyone can master it, you just need a little patience and curiosity to experiment.